Vectorizing with gradients: how to keep smooth transitions
Ordinary tracing turns a smooth colour transition into a few flat bands. For a gradient to stay a gradient, the program has to recognise that neighbouring shades belong to one shape.
Where the bands come from
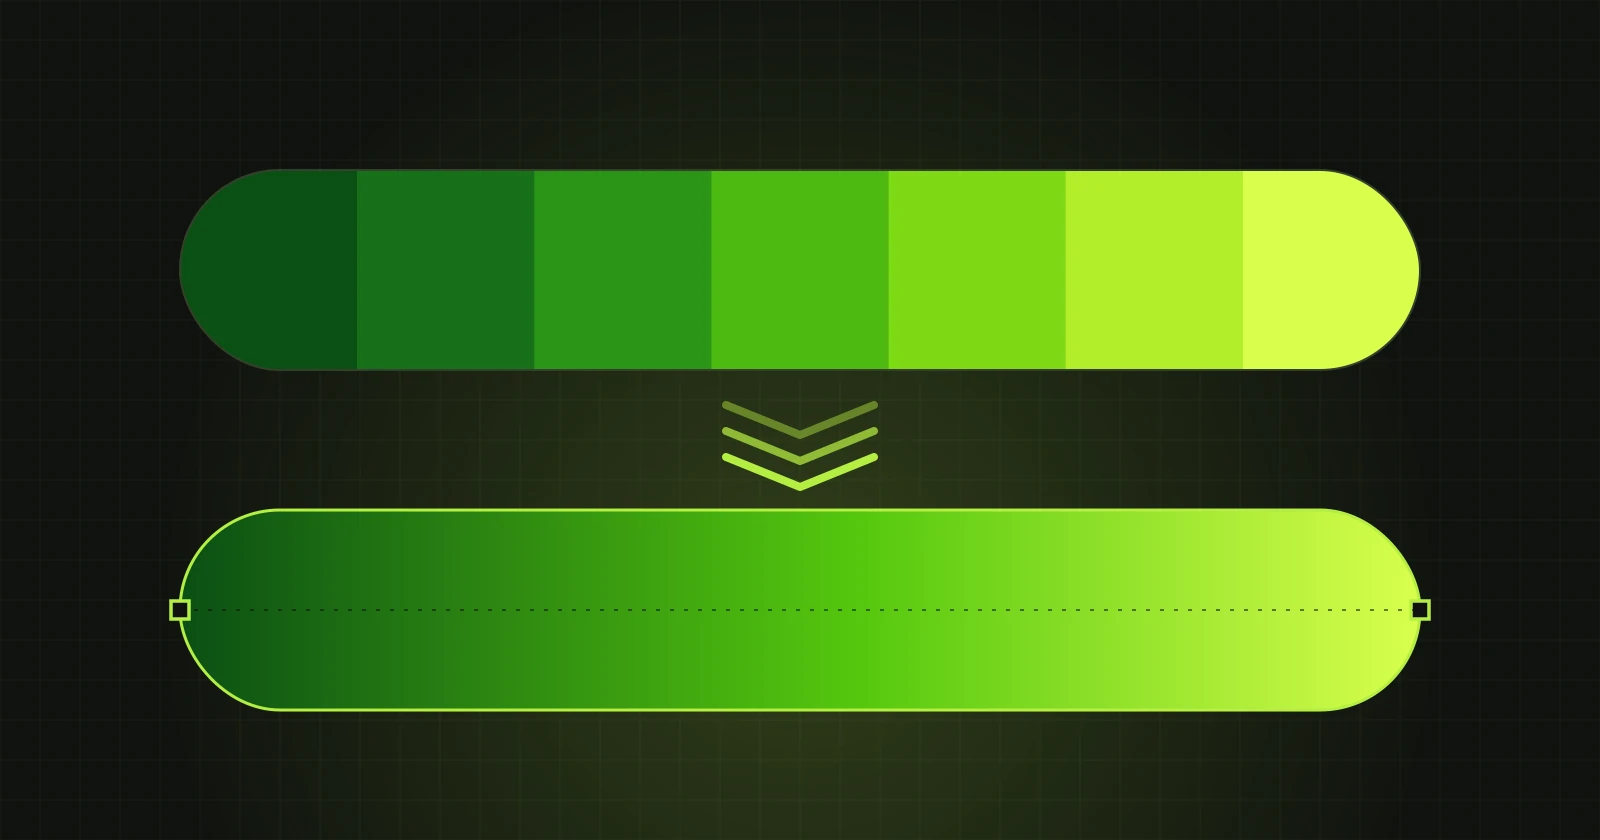
Tracing divides the picture into areas of similar colour and outlines each one. A gradient is hundreds of very similar shades, so the program cuts it into bands. The fewer colours you set, the wider and more visible the bands. The more colours, the more shapes and points in the file, and editing becomes tedious.
How VectorRaptor does it
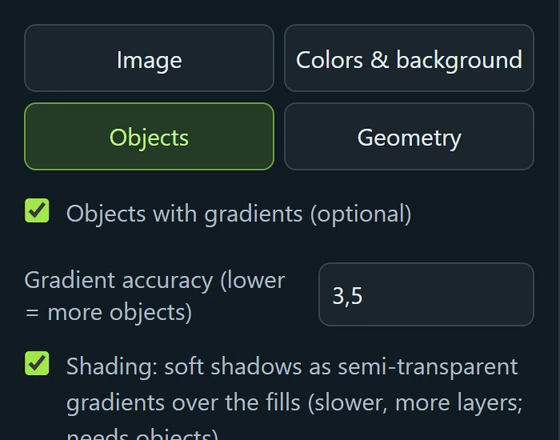
The option “Objects with gradients” on the “Objects” tab joins neighbouring bands of one transition into a single shape and fills it with a gradient. In the SVG such a shape has an ordinary gradient fill that can later be changed in any vector program.
Example
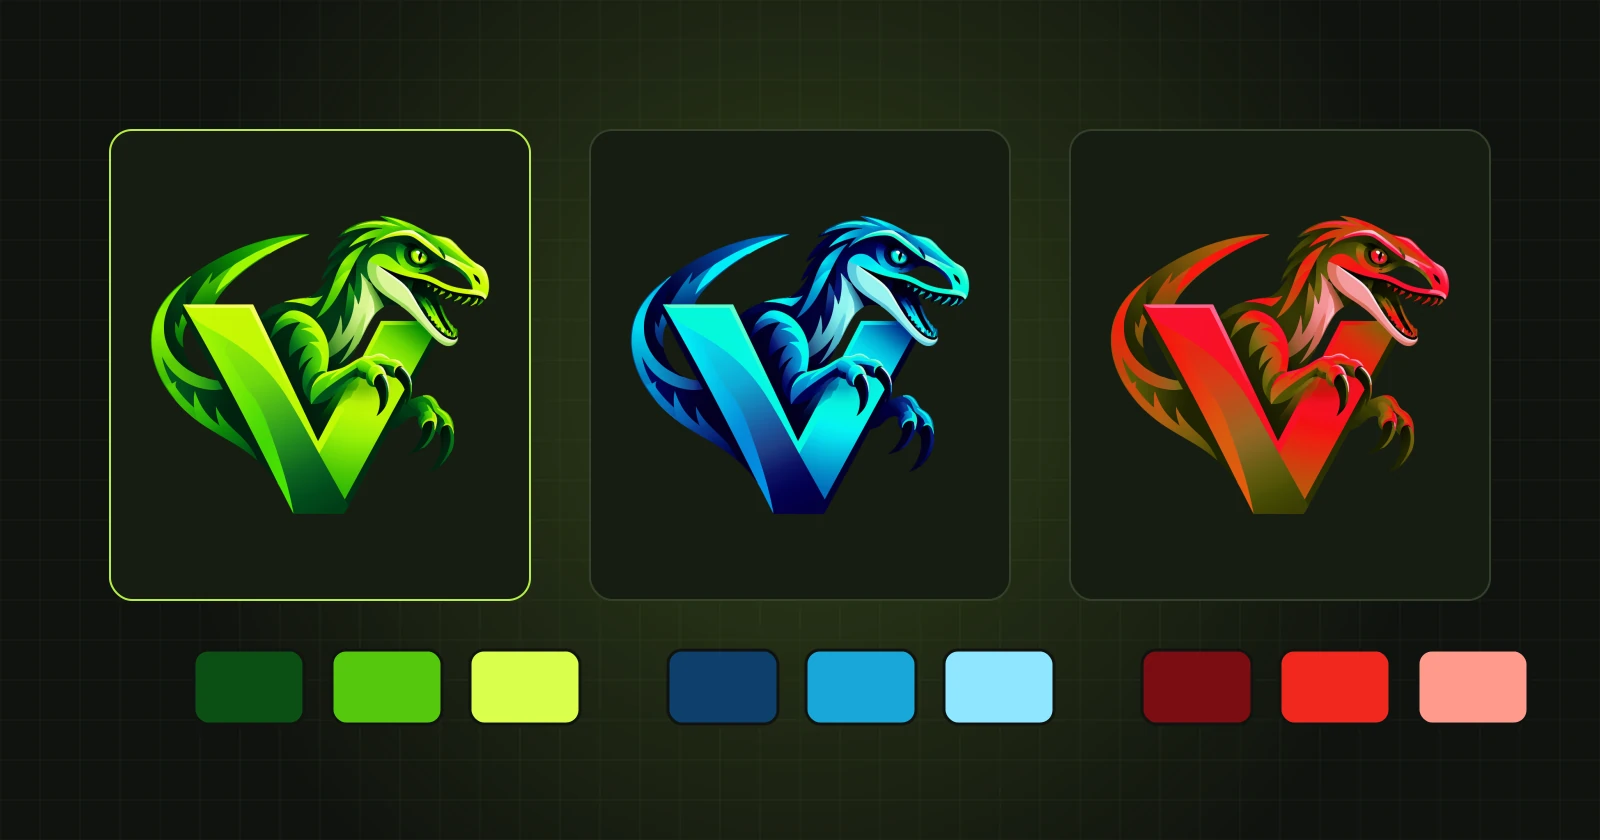
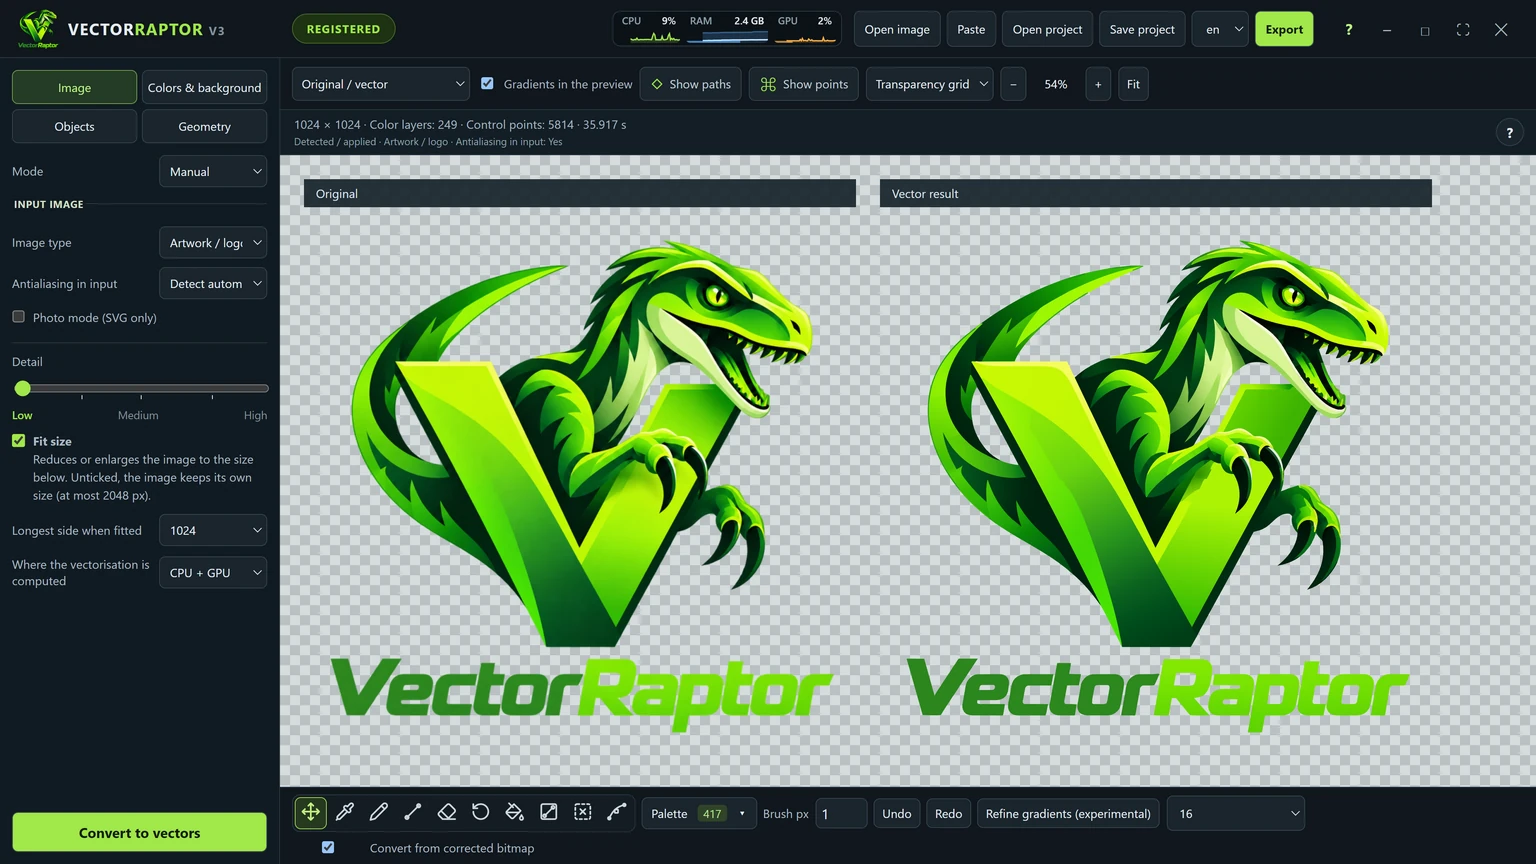
The letter V in this logo runs from a light, yellowish green to a dark one. After conversion its faces are shapes with a gradient fill, not a stack of bands. The program window shows it at once, beside the original.
Settings that affect gradients
- Gradient accuracy - a lower value divides the picture into more objects and follows complex transitions more closely. A higher value gives fewer objects.
- Shading - soft shadows are saved as semi-transparent gradients over the fills.
- Unlimited colours (the “Colors & background” tab) - the program keeps every visibly different colour instead of squeezing the picture into a few.
When a gradient comes out differently from what you want
You can apply a gradient by hand. With the “Gradient” tool you choose a shape, set two or three colours and drag a line from the first colour to the last. Details are in Changing colours and gradients on a finished vector.
A note on exporting
SVG, PDF, AI and PSD keep gradients. EPS does not store them as vectors, so in an EPS file every object has one colour. If the transitions have to stay, choose another format.