Changing colours and gradients on a finished vector
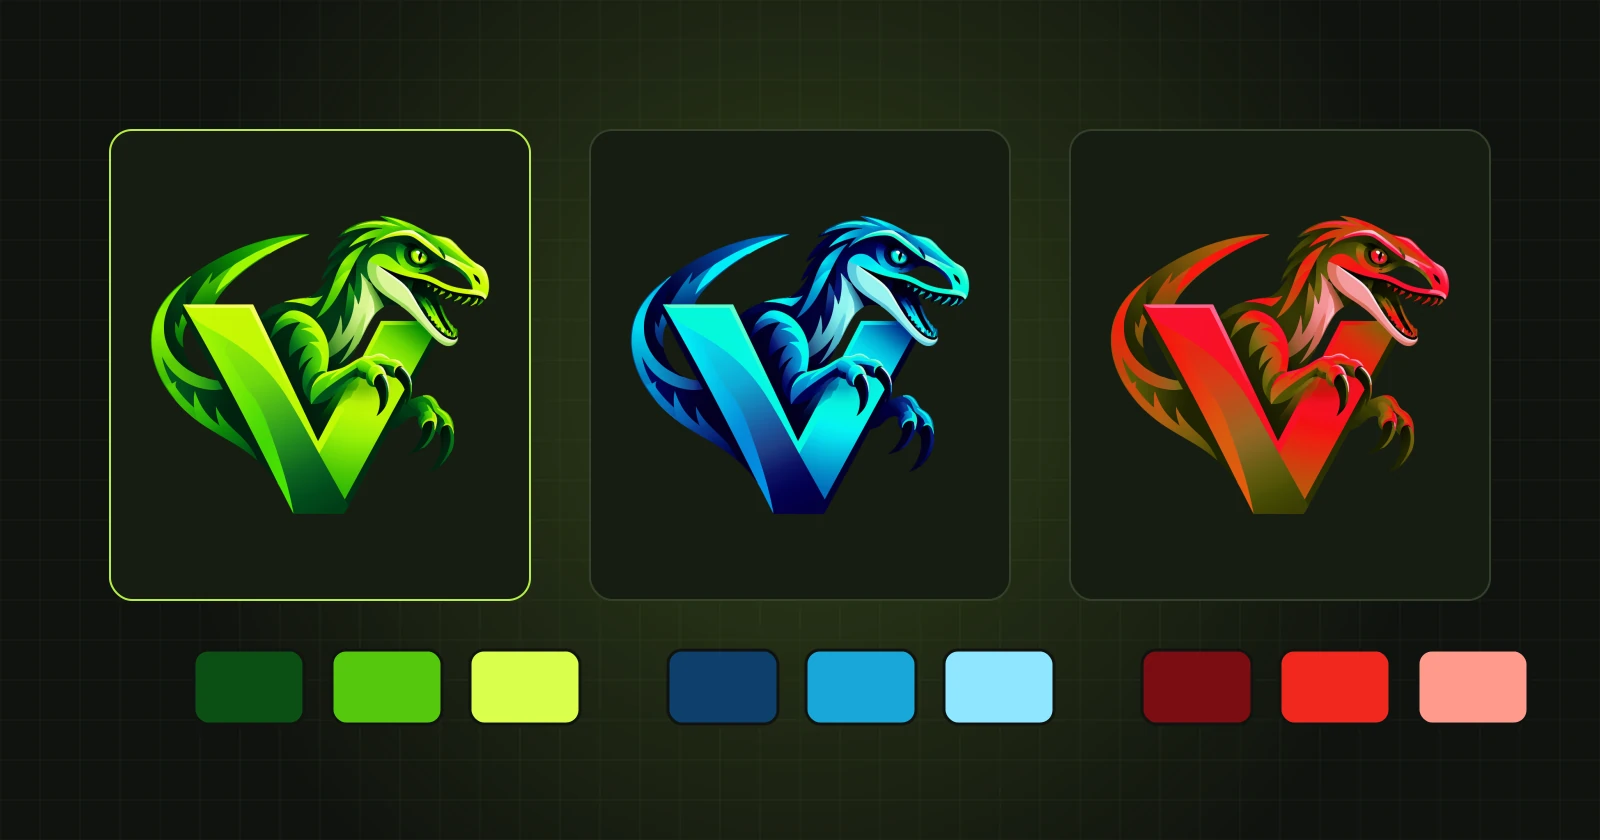
A client asks for a different shade of one element, or for a version of the logo in brand colours. On a vector that is a few clicks, with no new conversion.
One shape in a new colour
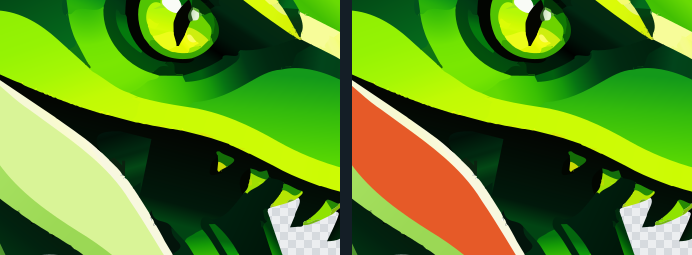
Pick a colour from the palette on the tool bar or choose any colour in the colour field. With the “Bucket” tool (key G) click a shape on the vector view. The shape gets the new colour; the rest stays as it was.
A whole object at once
With “Replace this colour everywhere” ticked, a click changes the whole object, that is all its pieces. This is the quickest way to make a version of a logo in another brand colour.
Picking a colour from the picture
The “Color picker” tool (I) takes a colour from the original or from the result. In the brush, bucket and gradient tools Alt+click does the same without changing the tool.
A gradient on a shape
- Choose the “Gradient” tool (D).
- Set two or three colours, from the palette or with the pipette.
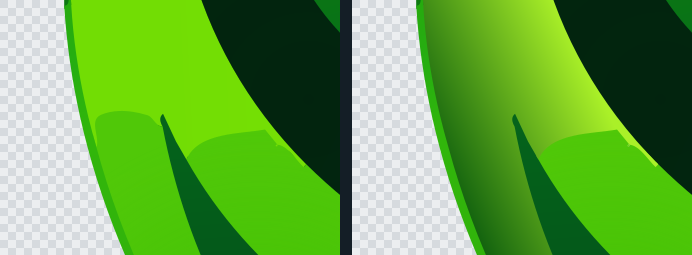
- Click a shape. Shift+click adds more. Touching shapes become one object with no visible boundary between them.
- Drag a line from where the first colour should be to where the last one should be. The line may run outside the shape; it only sets the direction and position of the colours.
Adding or cutting out a shape
The brush on the vector view inserts a new shape in the chosen colour. The eraser cuts a shape out to transparency. Both work directly on the vector, without recomputing the whole picture.
Check the whole picture
After changing a colour, zoom out (“Fit”) and compare with the original. A colour that looks right enlarged can turn out too light or too dark in the whole composition.
What goes into the file
Export saves exactly what the vector view shows, with colour changes and gradients. Remember that EPS saves objects in one colour each: Which format to choose.