How to vectorize a logo, step by step
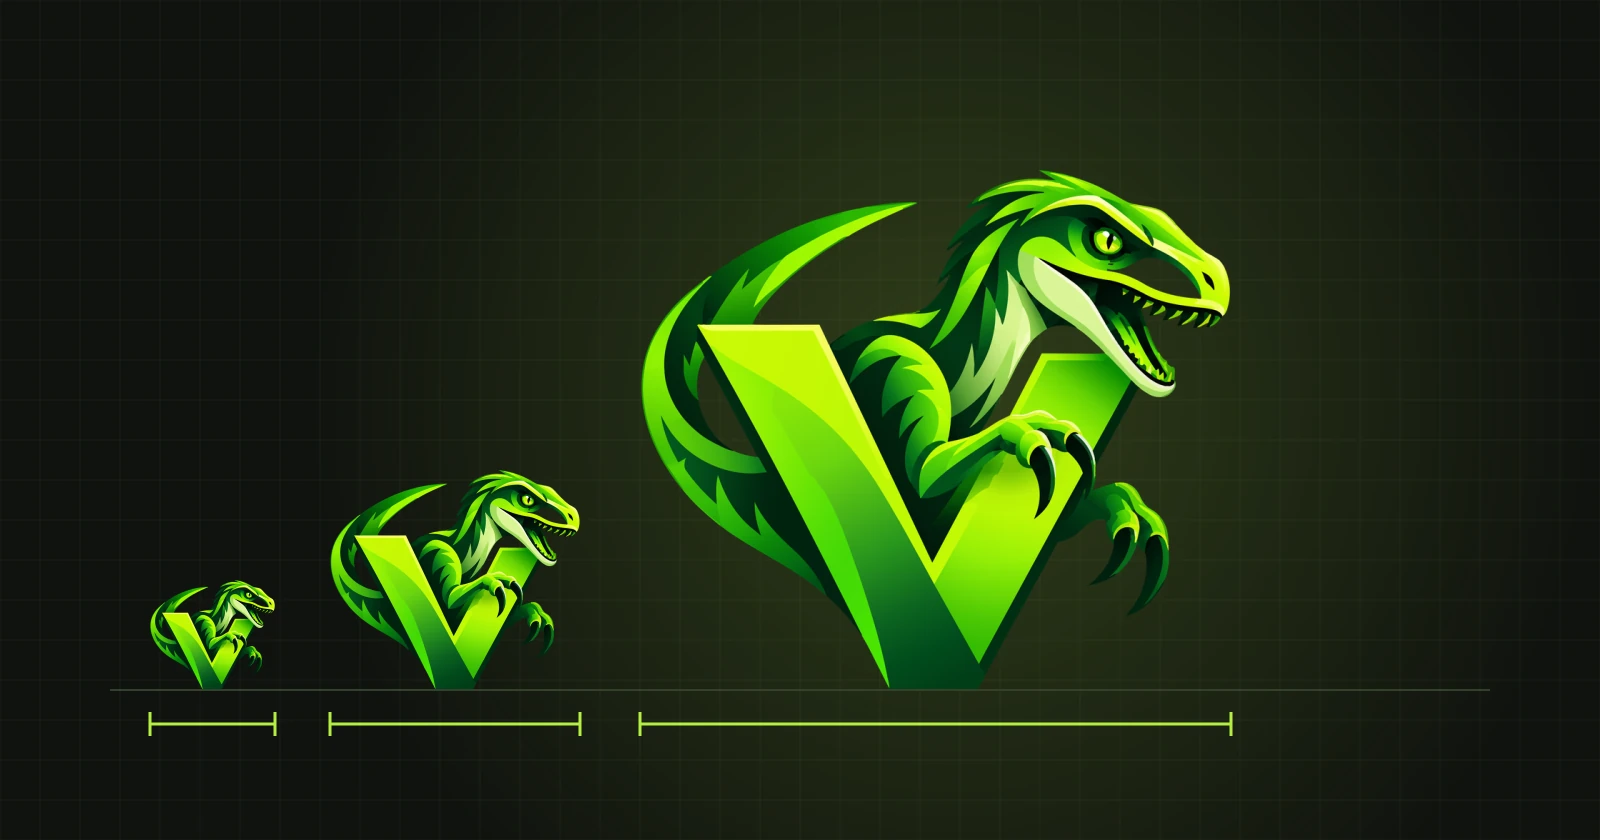
The logo exists only as a small PNG and the printer asks for a vector file. Here is the whole route from a picture to a file that can be scaled and edited.
1. Take the best image you have
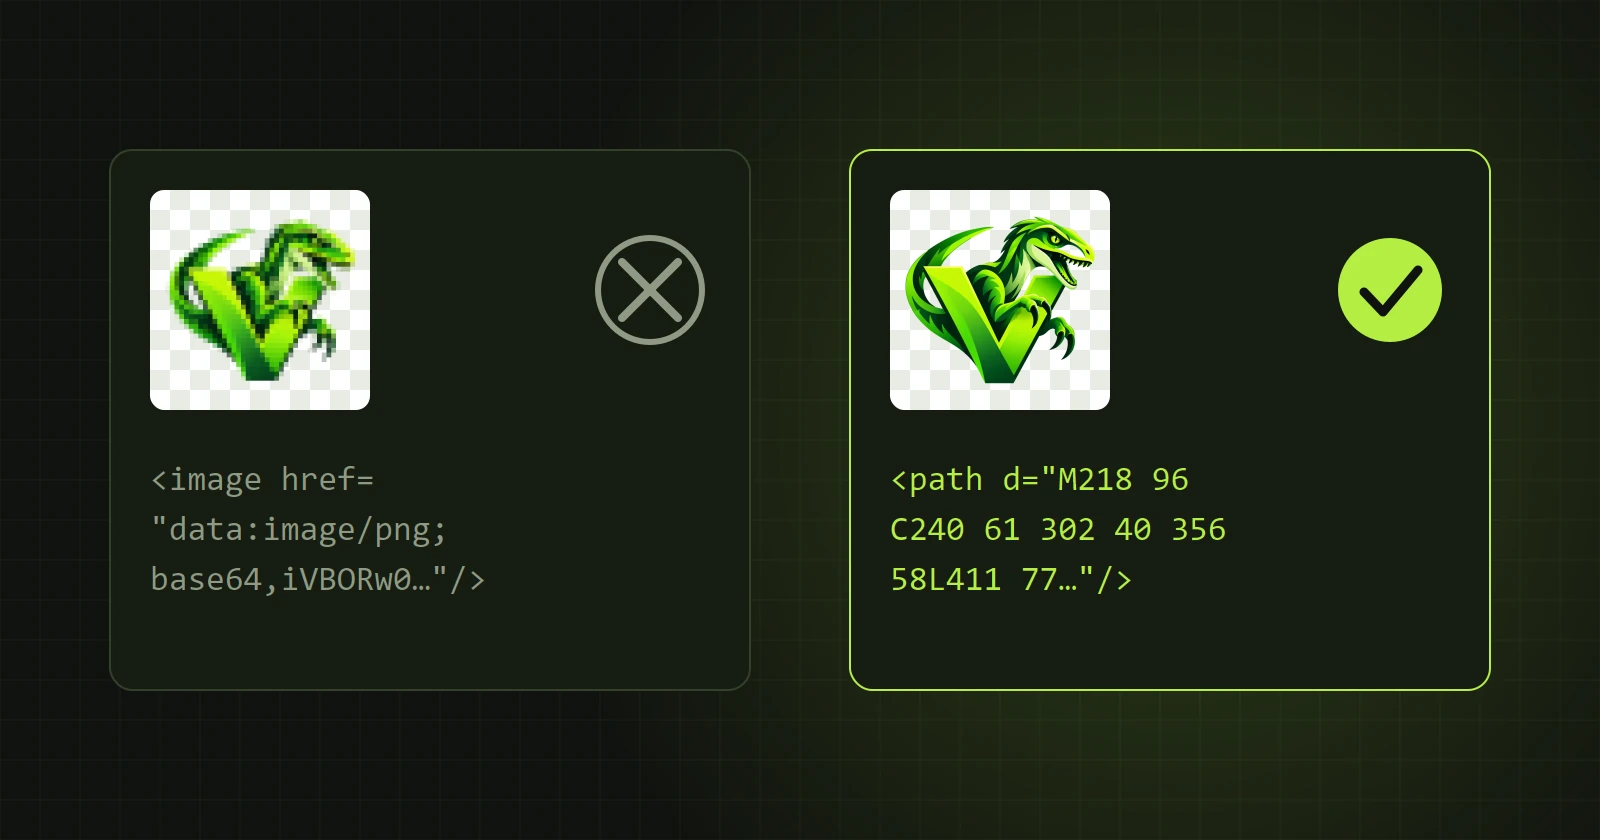
Vectorization cannot bring back detail that is not in the image. If you have several versions of the logo, pick the largest and least compressed one. PNG is usually better than JPG because it has no typical smudges along the edges.
2. Open and convert
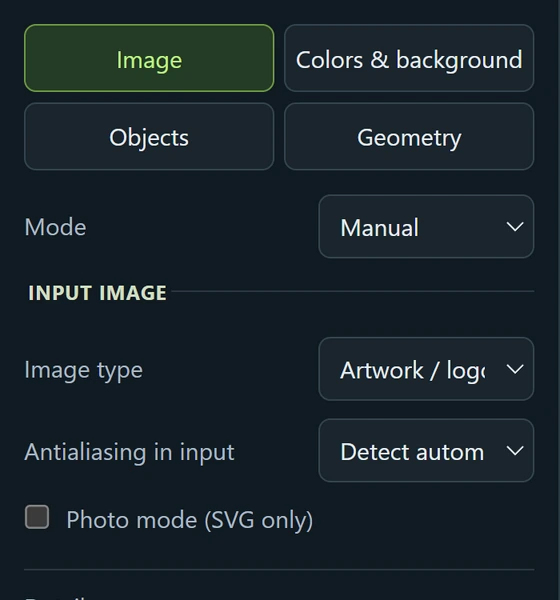
Open the image in VectorRaptor and click “Convert to vectors”. The starting settings are chosen for logos and illustrations. The “Image” tab then looks like this:
3. Compare with the original
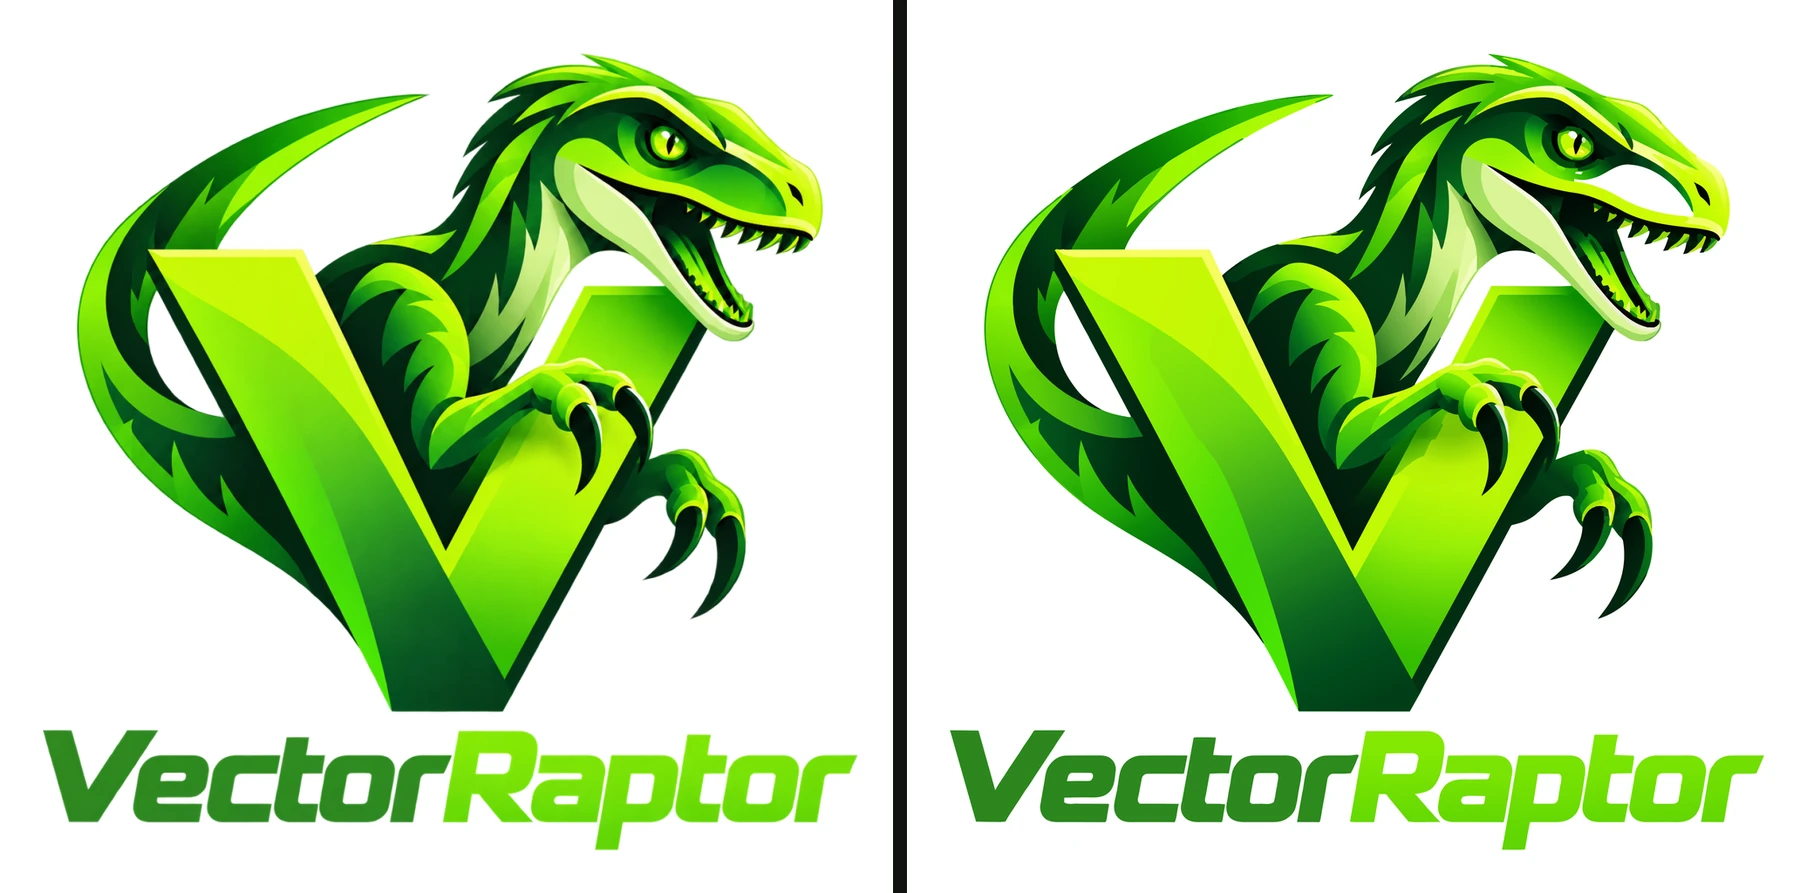
The “Original / vector” view shows both pictures side by side. At normal size they should look the same.
4. Zoom into the edges
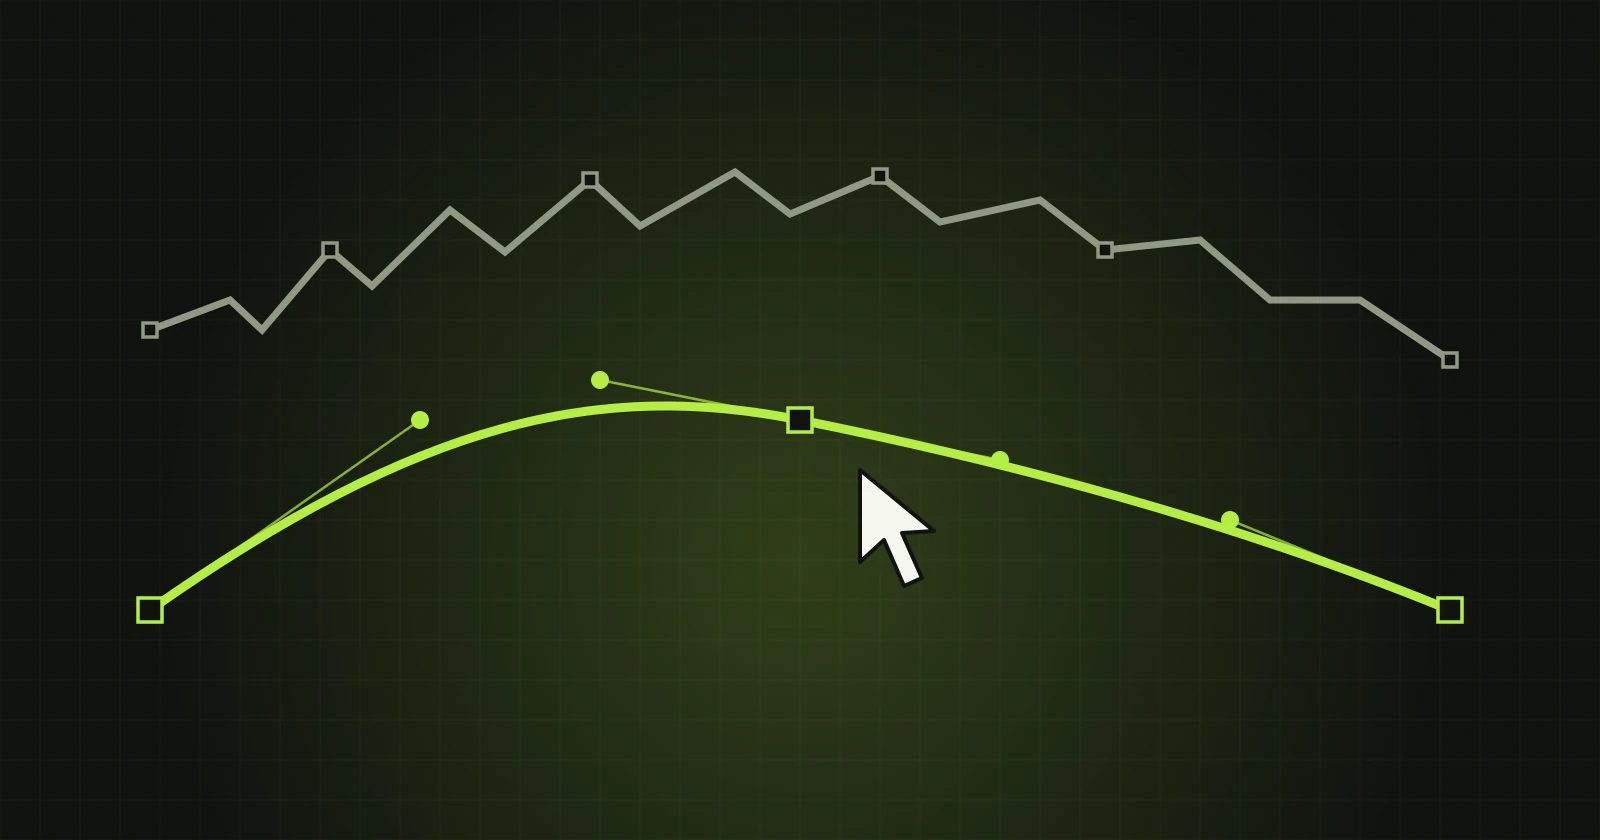
Differences show only when enlarged. Use the mouse wheel to zoom into the places that matter most: letters, sharp tips, thin lines. In a raster image an edge is blurred across a few pixels. In a vector it is one smooth curve.
5. Correct what needs correcting
The automatic result does not always get every detail right. Typical corrections are smoothing one boundary, removing a small crumb beside an edge, or recolouring one shape. You do this in the program, without exporting to another tool: Fixing paths after vectorization.
6. Save in the format the recipient asks for
- SVG - websites, Inkscape, Illustrator, Figma.
- AI or PDF - a printer or an agency working in Illustrator.
- PSD - when the logo goes to Photoshop as shape layers.
It is also worth saving the project (.vrp). You can then return to the logo with all corrections, without converting again.
What to expect
A simple logo in a few colours comes out clean at once. A logo with gradients, shadows and small text usually needs a few corrections under zoom. The smaller and more compressed the input image, the more work there is.