DXF files for plotters, lasers and CNC
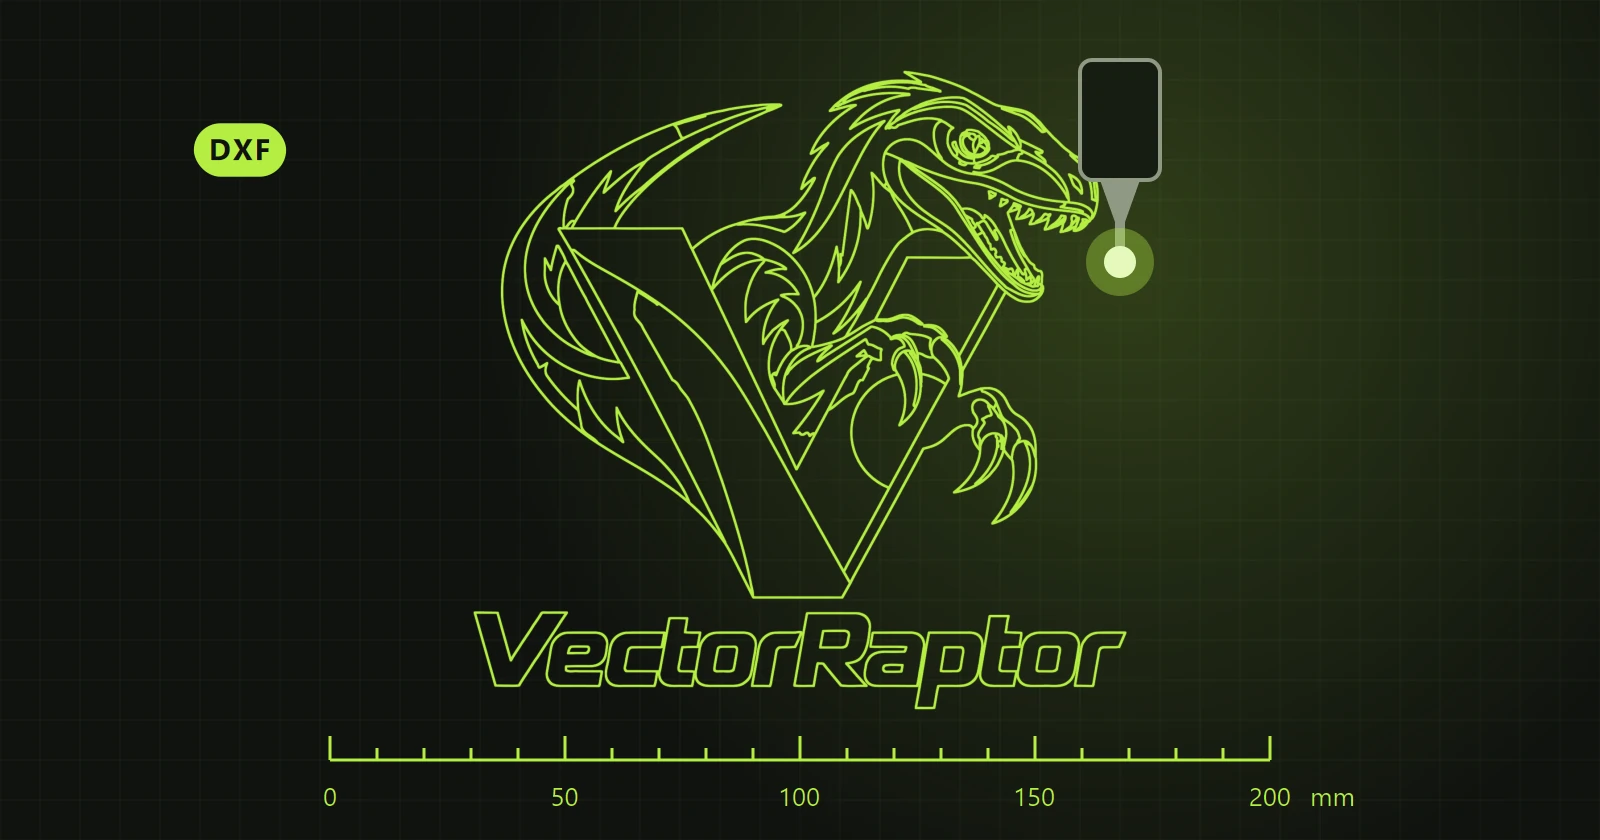
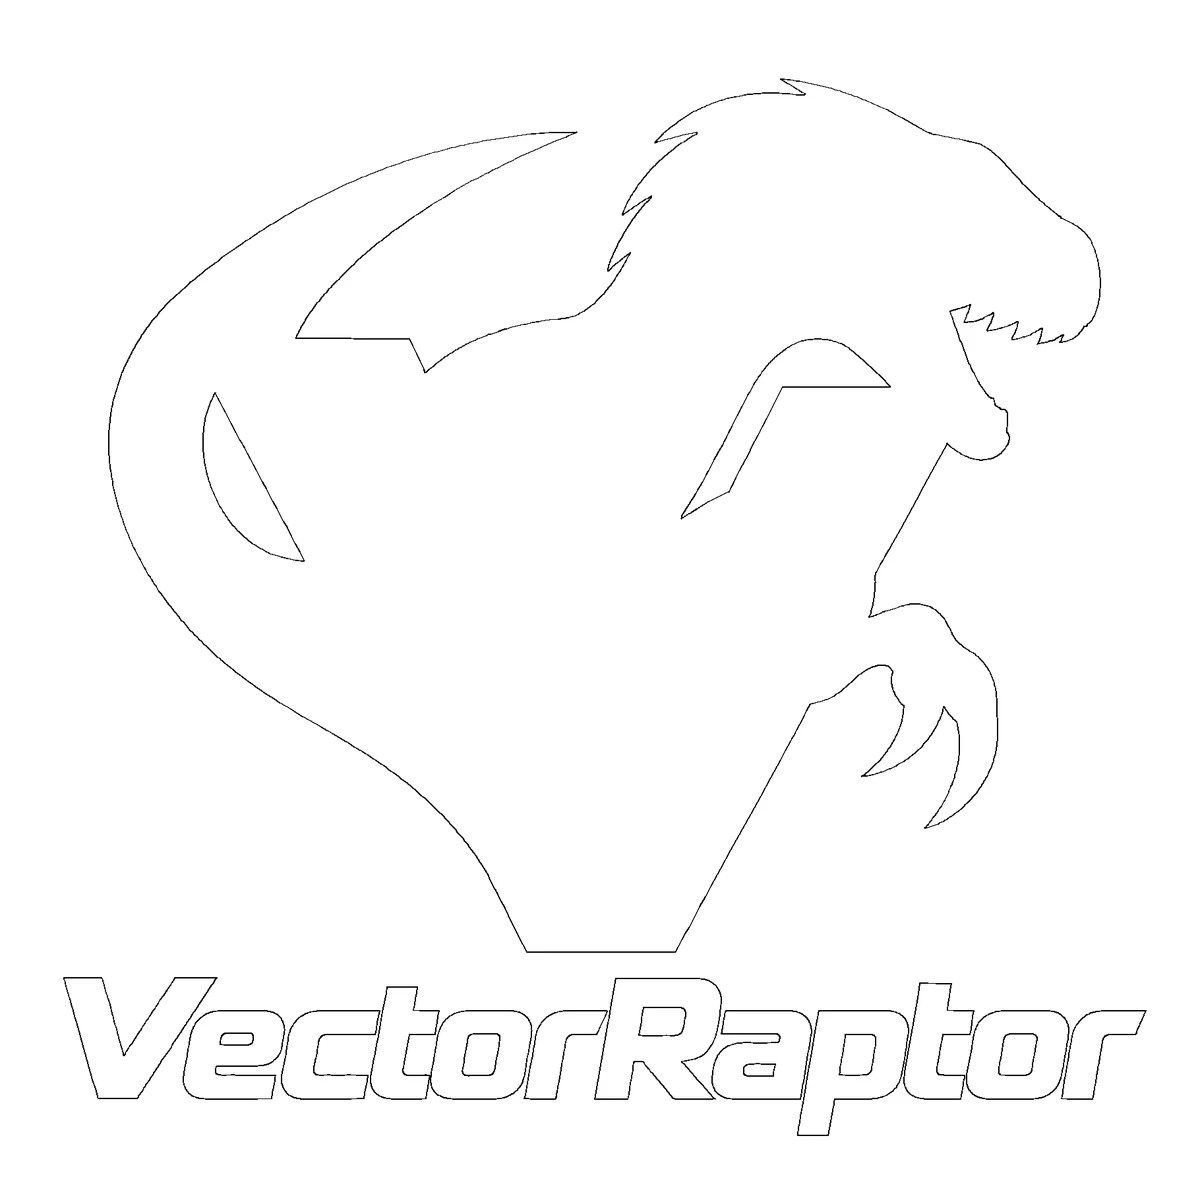
A cutting machine needs no colours or fills, only lines for the tool to follow. DXF export saves just the outlines of the artwork, in millimetres.
From image to DXF
- Open the image and click “Convert to vectors”.
- Remove from the result what the machine should not cut. Small crumbs along edges are removed with “Delete small shapes”.
- Click “Export”, choose the DXF format and set the three things described below.
1. Which outlines to save
- Every boundary once - a boundary shared by two shapes goes into the file once, so the machine cuts it once. This is the setting for cutting.
- Outer outline only - just the silhouette of the artwork, for example to cut a sticker to shape.
- Closed shapes by layer - every shape as a separate closed line on the layer of its colour. For work where each colour is a separate material or a separate pass.
2. Curves
- Dense polylines (DXF R12) - curves turned into short segments. Every machine reads them, old ones included.
- True curves (DXF 2000) - fewer points and smoother tool movement, but the machine's program has to be newer.
If you do not know what your machine reads, start with polylines.
3. Size in millimetres
You give the length of the longest side in millimetres. The file is saved in that unit, so the artwork has the right dimension in the machine's program at once.
Preview before exporting: the “DXF / vector” view
In the list of views above the picture choose “DXF / vector”. The program asks whether to switch to DXF mode. On the left you see the contours that go into the file, and on the right the vector in flat colours, without gradients.
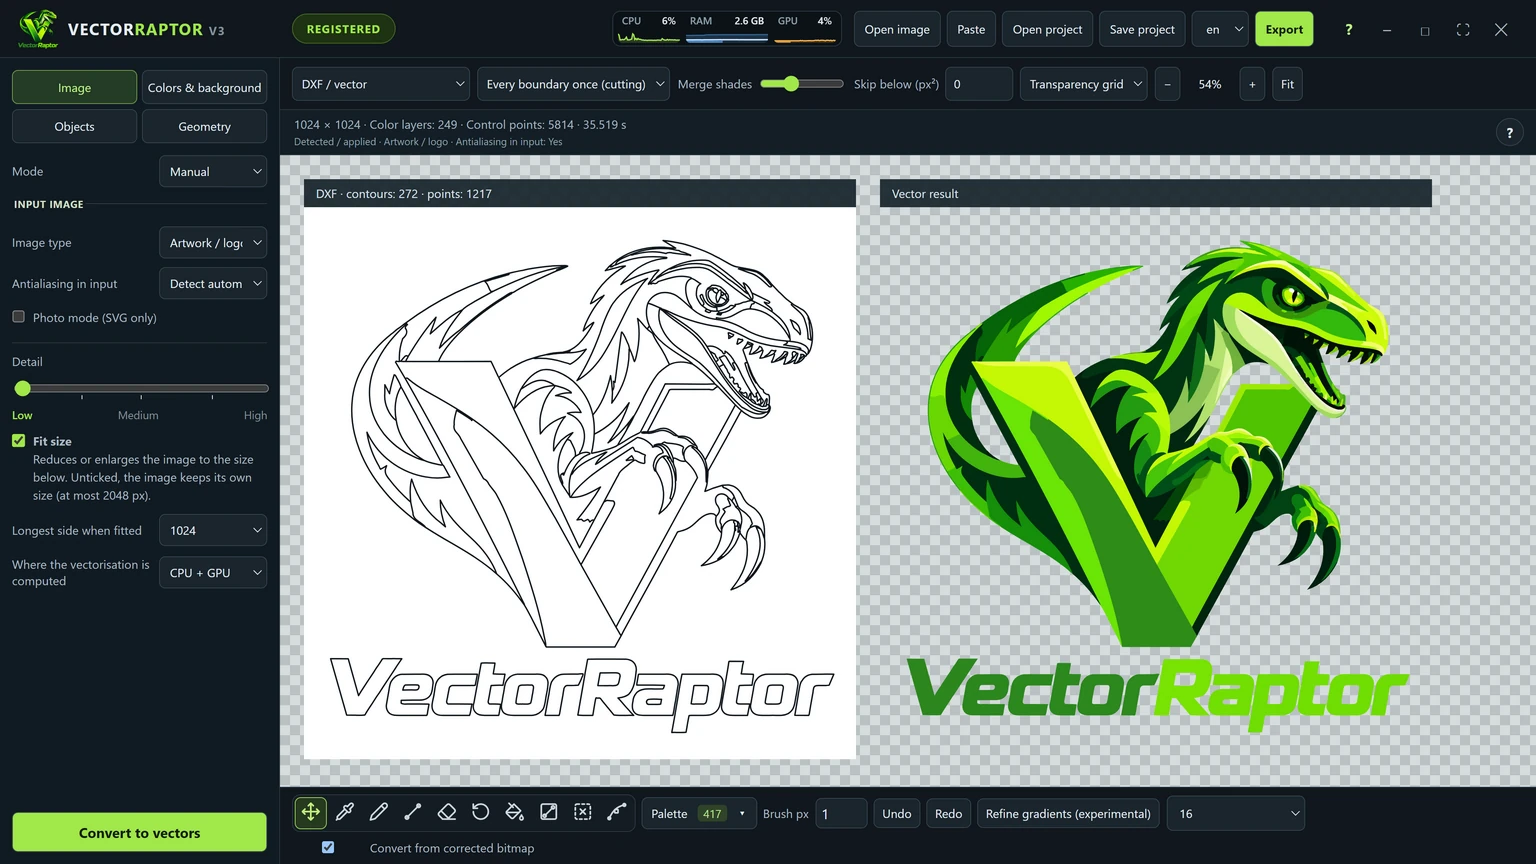
The bar above the picture has two settings that reduce the number of lines to cut. The preview is redrawn after every change.
- Merge shades - the higher, the more different the shades of touching shapes may be and still merge into one. Zero keeps every colour boundary.
- Skip below (px²) - a shape smaller than this area joins its neighbour. A speck with no neighbour is left out of the file altogether.
A DXF can be edited too
A DXF file from the program is not only an outline. It holds every line inside the artwork, and each of them can be corrected or removed before saving, without going back to the conversion.
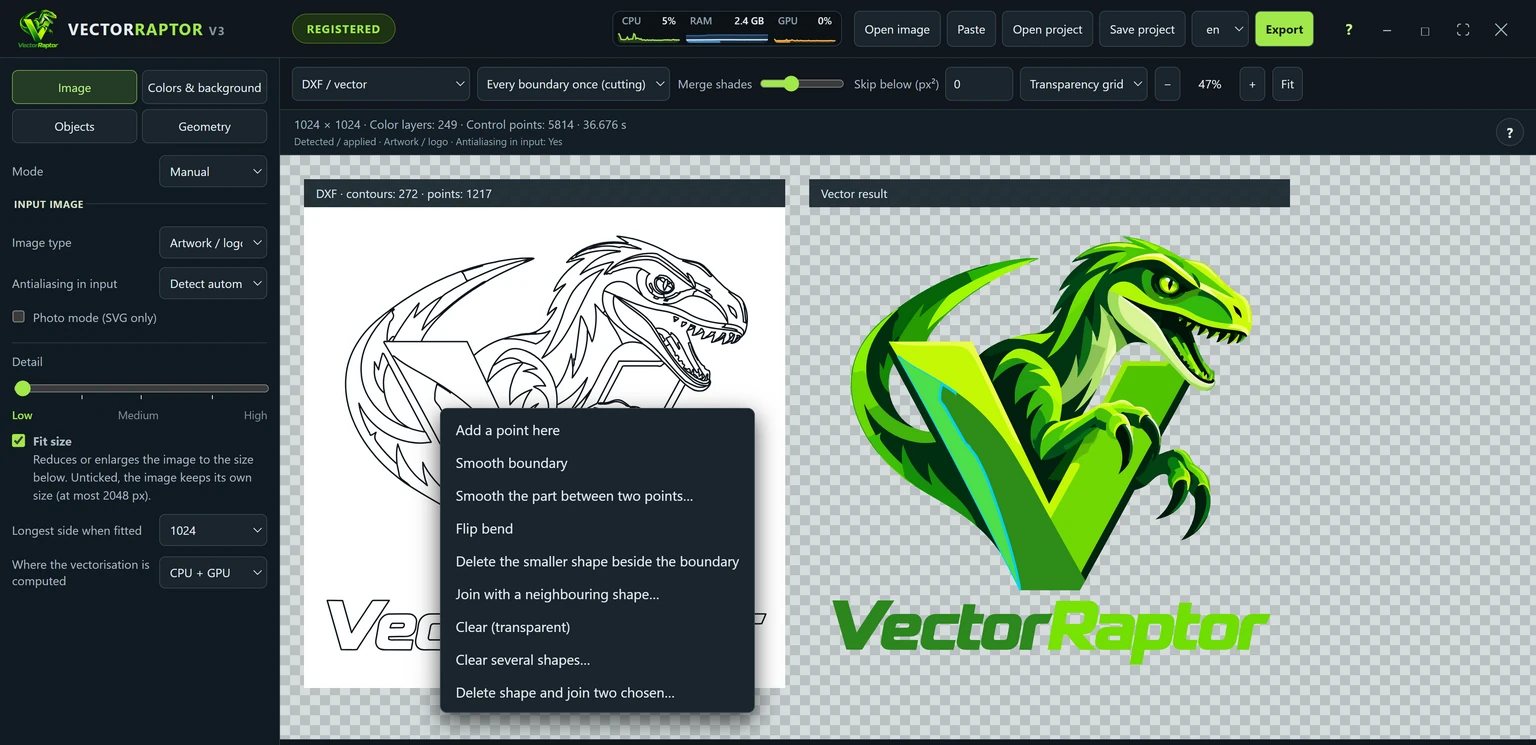
The right mouse button works on both boards. A click inside a shape offers “Delete shape”, and a click on a line opens the menu of that boundary, where you can delete the smaller shape beside the line or join the shapes on both sides of it. This is how you remove single cuts the machine should not make.
Gradients and the frame
A machine does not do gradients, so neighbouring similar shades are merged into one shape. This option can be switched off. The background frame along the edge of the image is left out, so that the machine does not cut a rectangle around the artwork.
Before cutting
- Open the DXF in the machine's program and check the dimension.
- See whether there are very small closed shapes that the vinyl or material will not hold.
- With a laser, check the cutting order: insides first, the outline last.
- Make a test on a scrap of material.
A tip
Artwork with clear, flat colours is best for cutting. The fewer colours in the conversion, the fewer lines in the file. You set the number of colours on the “Colors & background” tab before converting.